
 Stargaze
 Snowshoe
 Hiking
 Fishing
 Photography
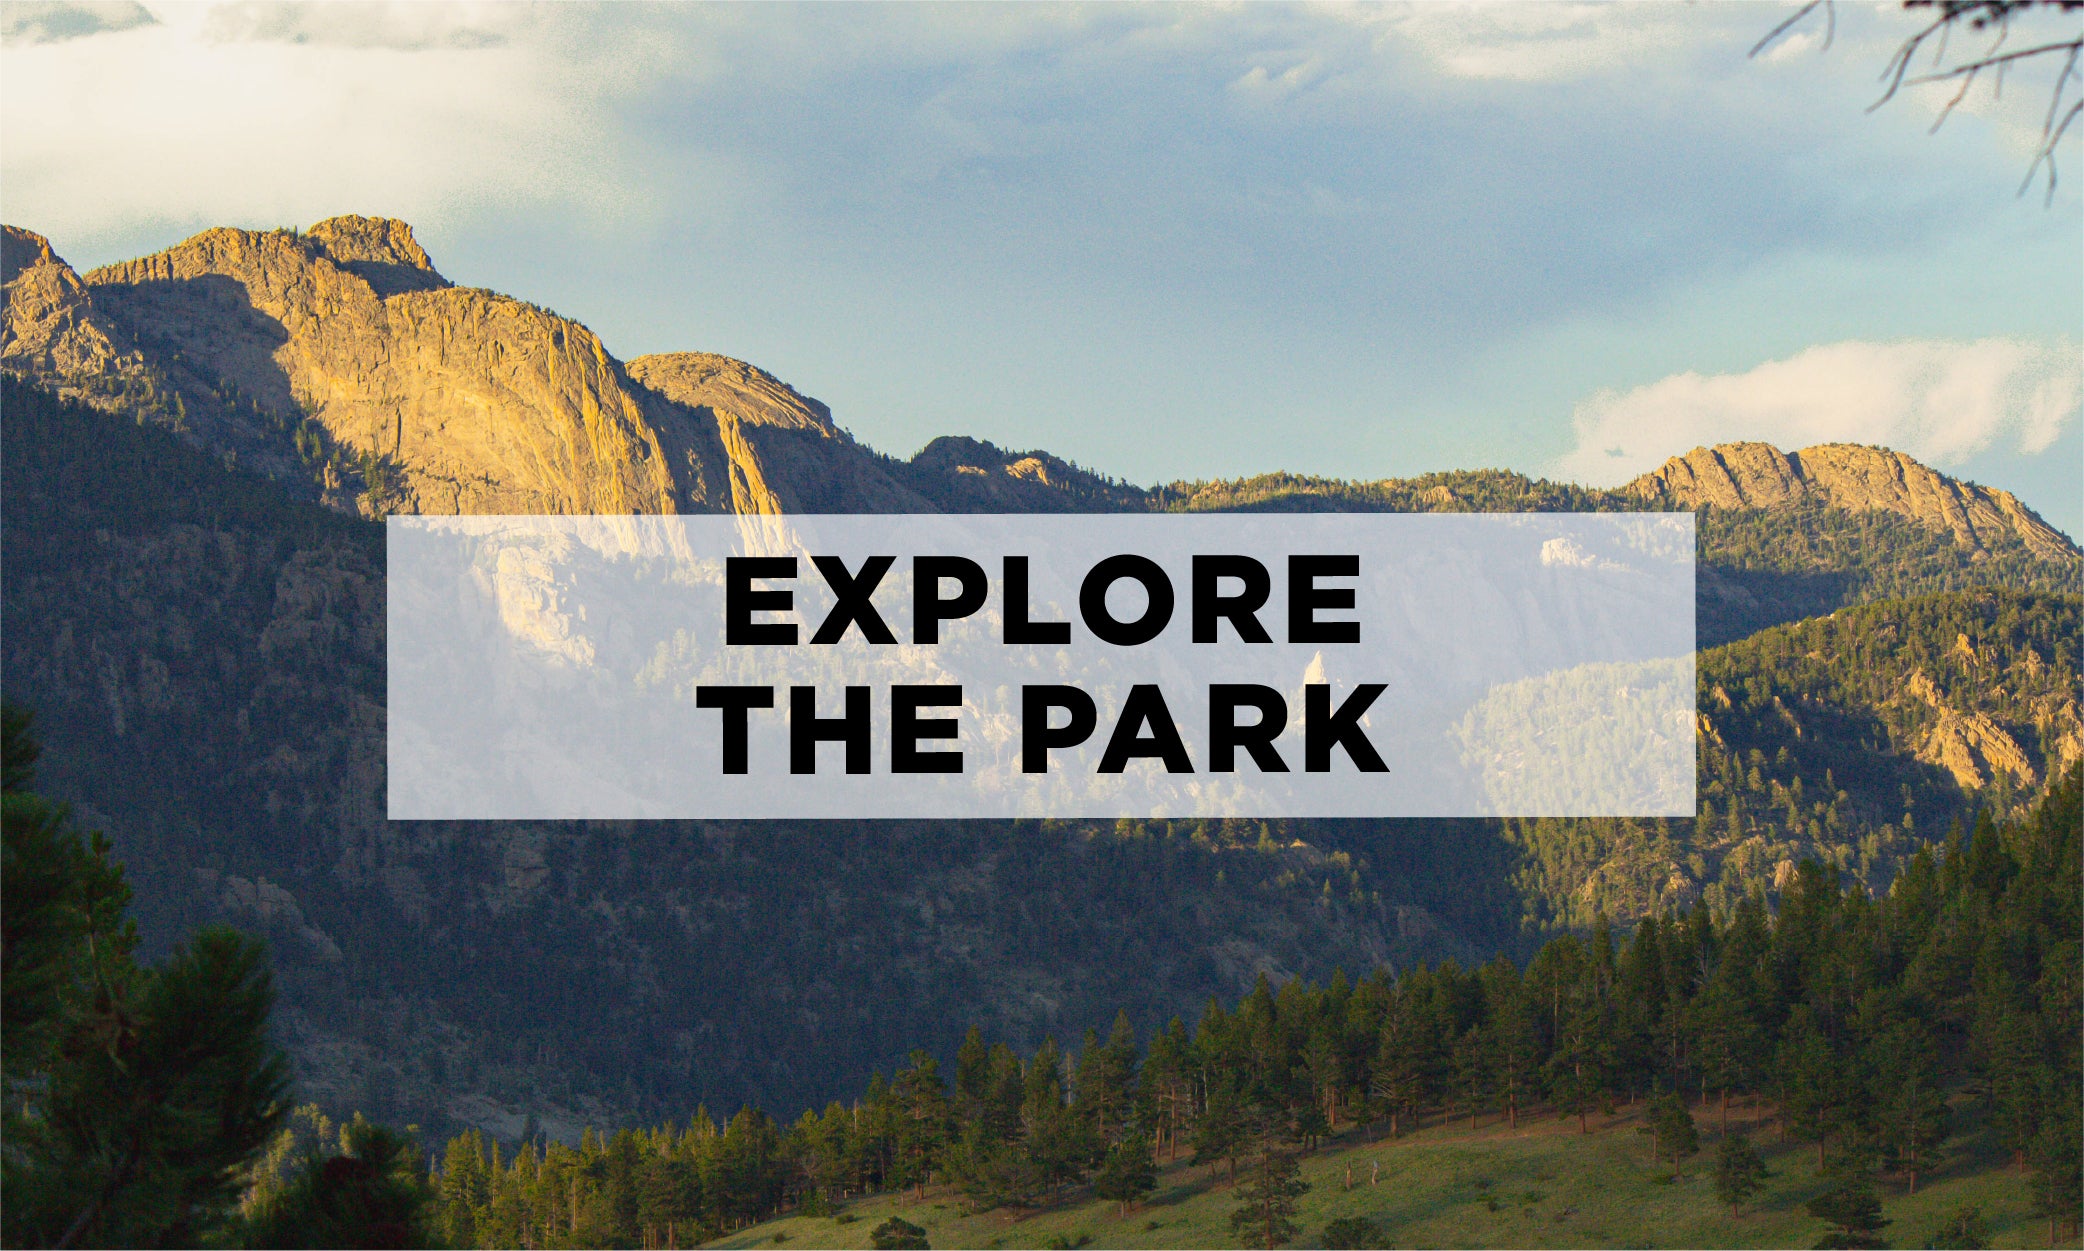
 Activities
 Food & Drink Tours
The Beginner’s Guide to Trekking Poles in Rocky Mountain National Park
If you’re new to hiking in the mountains, trekking poles can feel like extra gear you may or may not need. But once you use them correctly—especially in Rocky Mountain National Park—you understand why guides, trail runners, and long-distance hikers swear by them.
Trekking poles aren’t just for steep trails or older hikers. They make hiking safer, smoother, and more efficient for everyone, from families to first-timers visiting Estes Park. In a place where altitude, uneven terrain, ice, and long miles come into play, poles become one of the most helpful tools you can carry.
Here’s a simple, beginner-friendly guide to choosing, sizing, and using trekking poles in the mountains.
Why Trekking Poles Matter in Rocky Mountain National Park
Even on easy trails, RMNP throws a lot at you: rocky steps, tree roots, icy mornings, wind gusts, snow patches, and high-elevation climbs. Trekking poles help you:
-
Reduce knee and joint impact
-
Improve balance on uneven terrain
-
Distribute effort across your upper body
-
Stay stable on ice, packed snow, and slushy spring trails
-
Prevent slips and protect your ankles
-
Keep a steady rhythm during long hikes
Think of them as “extra legs” that help you hike smoother and safer. They are especially valuable for beginners or guests visiting from lower elevation who are adjusting to altitude.
How to Size Your Trekking Poles Correctly
Improperly sized poles are one of the biggest mistakes beginners make. A simple rule will get you perfect sizing every time.
The 90-Degree Rule
When the pole is fully planted on the ground:
-
Your elbow should bend at a perfect 90-degree angle
-
Your forearm should be parallel to the ground
-
Your shoulder should feel relaxed, not raised
This height creates efficient power and stability without straining your shoulders or leaning too far forward.
Sizing by Height (Quick Reference)
-
5'0"–5'4" hikers: pole length around 105–110 cm
-
5'5"–5'9" hikers: pole length around 110–120 cm
-
5'10"–6'2" hikers: pole length around 120–130 cm
-
6'3" and above: pole length 130–135 cm
Most trekking poles are adjustable, so you can fine-tune the fit on the trail.
When to Adjust Your Pole Height
One size doesn’t fit all terrain. Here’s when to change it:
-
Going uphill: shorten poles by 5–10 cm
-
Going downhill: lengthen poles by 5–10 cm
-
Traversing side slopes:
-
uphill pole gets shorter
-
downhill pole gets longer
-
Small adjustments make a big difference in efficiency and comfort.
How to Use Trekking Poles on Ice and Snow
Winter and shoulder-season hiking are where poles really shine. Here’s how to stay safe on slippery surfaces.
Use the Carbide Tip for Ice
Most poles come with removable rubber tips.
Remove them for winter hiking.
Underneath is a metal carbide tip designed to:
-
Bite into ice
-
Penetrate packed snow
-
Prevent sideways slipping
-
Give you stability on frozen lakes, creeks, and shaded areas
Rubber tips should only be used on pavement or fragile rock ecosystems.
Pair Poles With Microspikes or Traction
Trekking poles help, but they don’t replace foot traction. On ice and packed snow in RMNP, you should use:
-
Microspikes
-
Yaktrax (less secure but OK for very mild ice)
-
Winter traction devices
Poles + microspikes = the safest winter combo for beginners.
Plant Your Pole Before You Step
A simple rule for winter hiking:
Pole, then foot.
Planting your pole first gives you:
-
Extra stability
-
Early warning if ice is brittle
-
More control on downhill slopes
-
Balanced transfer of weight
This “pole-first” rhythm reduces slips dramatically.
How to Walk on Icy or Snowy Slopes
Uphill:
-
Shorten your poles slightly
-
Plant poles slightly wider for stability
-
Keep weight on the balls of your feet
Downhill:
-
Lengthen poles
-
Plant poles ahead of you to test traction
-
Keep small steps and controlled movement
Side Slopes:
-
Keep poles at different lengths
-
Lean slightly toward the slope
-
Take slow, deliberate steps
Winter hiking is all about balance and rhythm—not speed.
Hand Straps: Yes, They Matter
Most beginners ignore trekking pole straps, but they’re designed for:
-
Reducing hand fatigue
-
Improving power transfer
-
Preventing accidental drops
Correct strap use:
-
Put your hand up through the strap from below
-
Lay your palm down on the strap
-
Grip the pole with the strap supporting your wrist
This way, your wrist—not your fingers—does most of the work.
When You Should Use Trekking Poles in RMNP
Poles really help when:
-
Trails are icy
-
Trails are snowy
-
Trails are muddy or slushy
-
You're tackling long mileage
-
You're carrying a child or heavy pack
-
You're hiking at altitude for the first time
-
You're recovering from knee or ankle issues
They turn tough days into smooth, confident ones. 100% help your back as well.
When You Don’t Need Trekking Poles
You can skip poles if:
-
The trail is short and completely dry
-
You prefer trail running
-
You’re only doing a short photo stop
-
You’re scrambling or climbing (poles get in the way)
For most guests, poles are an “everyday tool” in the mountains—but not mandatory for simple roadside viewpoints.
Trekking Poles Make Mountain Hiking Accessible
Whether you’re doing an easy walk around Sprague Lake or a long day toward Emerald Lake, trekking poles add stability, confidence, and efficiency—especially for visitors adjusting to altitude.
If you want a guided hike where we teach you pole technique, winter footwork, and how to stay safe on ice and snow, Estes Park Tour Guides is always excited to help.